Anyways... I do all of my resizing, etc. in photoshop, so here we go.
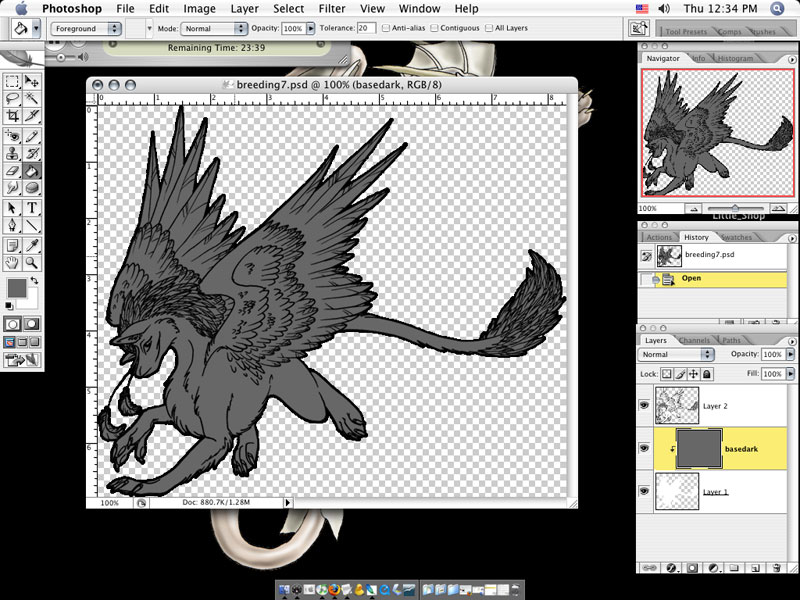
First I resize my image to the dimensions I'm going to be adopting it out at, delete the white around the outside of the outline, and set up a system where the white bottom layer contains all of the inside colours. (This means that I can 'go out of the lines' and it won't show up outside the outline.) This image is the first, most basic step after resizing, whitening, etc.
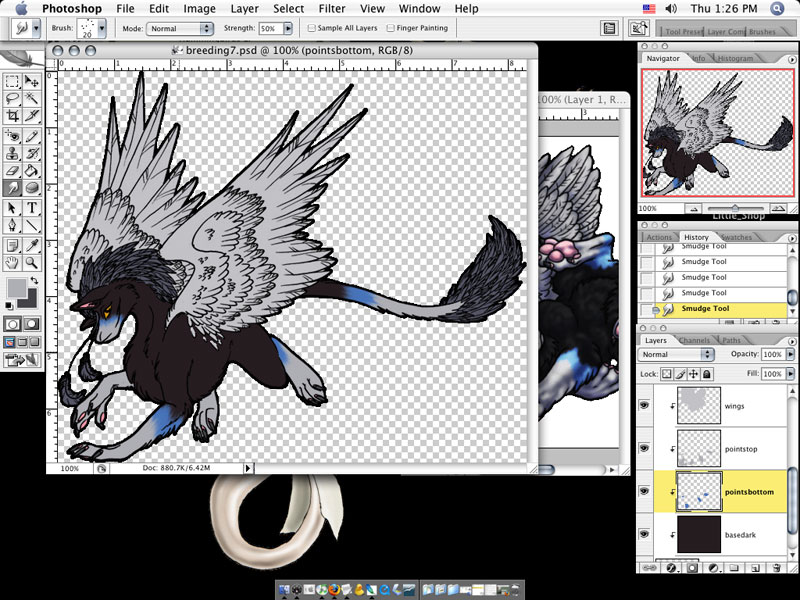
I fill out any sections that will be different colours on different layers, so they're easier to change if I need to do so.
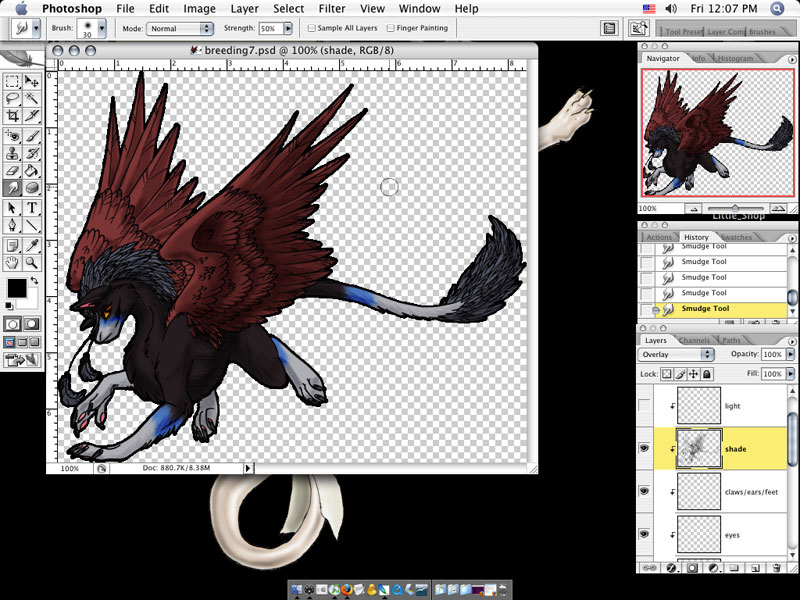
I then create a new layer for shading, and a new layer for lighting, and set both to 'overlay'. Here's the shade-only version, using a special brush at about 30% opacity and only smudging on occasion. (I changed the colour of the wings so I could see to shade it better.)
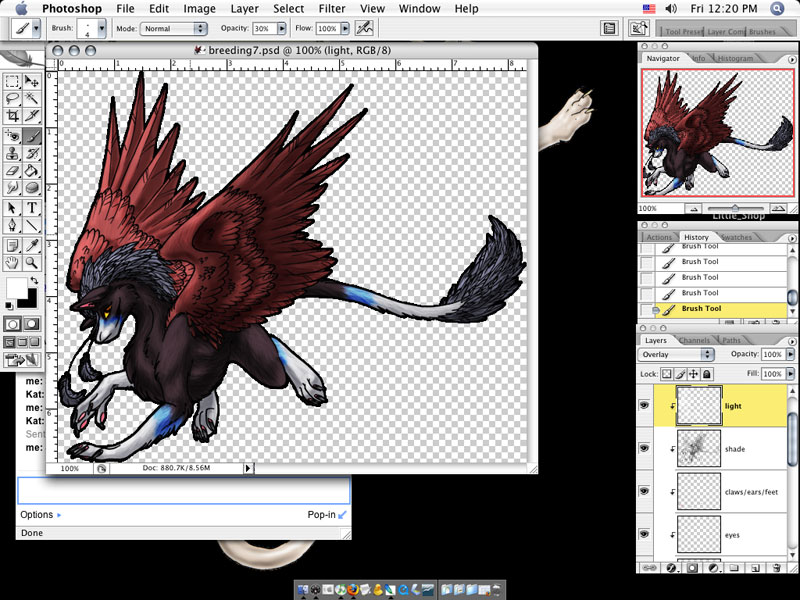
Here's the image with the shading and the lighting, both using 30% opacity brushes.
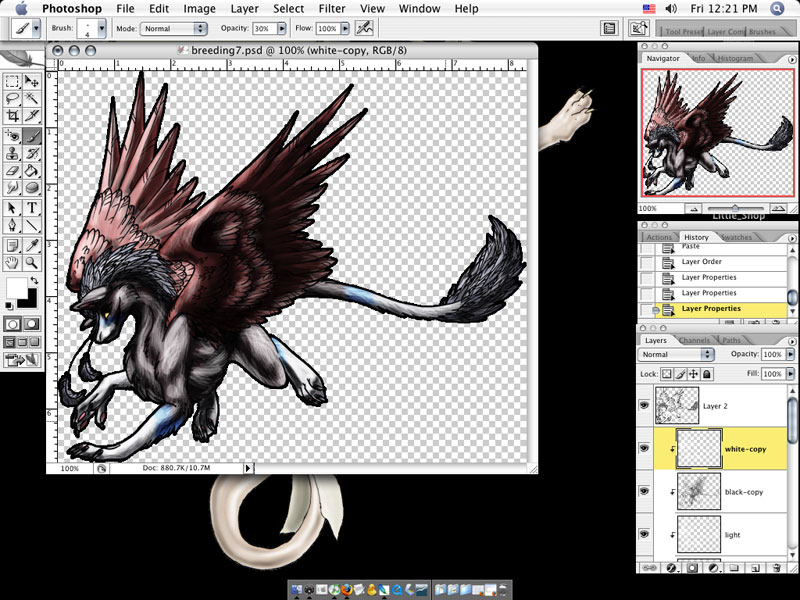
Now I take the shading and lighting layer and make copies of both, leaving them at 'normal' instead of 'overlay'.
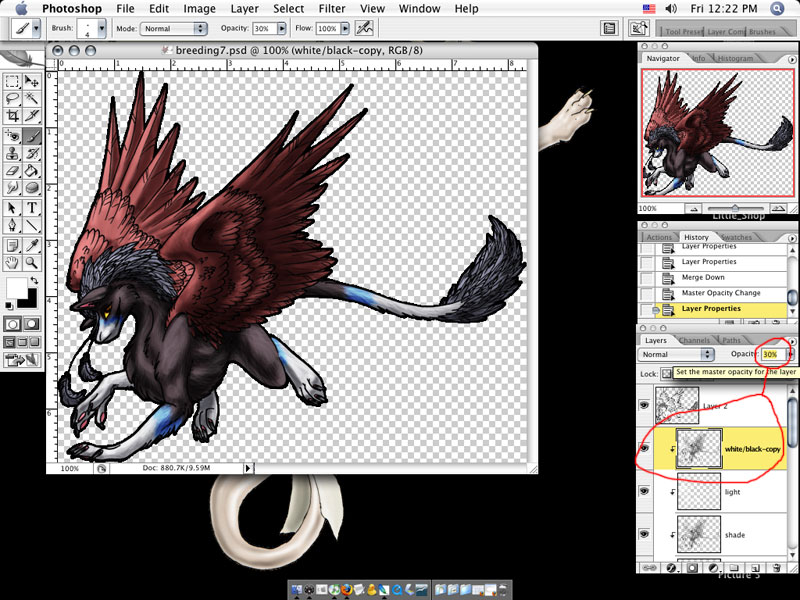
I merge the black and white copies together and set the opacity of this new, merged layer to about 30%. The reason I do this is so that on very light coloured templates, the shading still shows up--something that doesn't work when you're only using overlay.
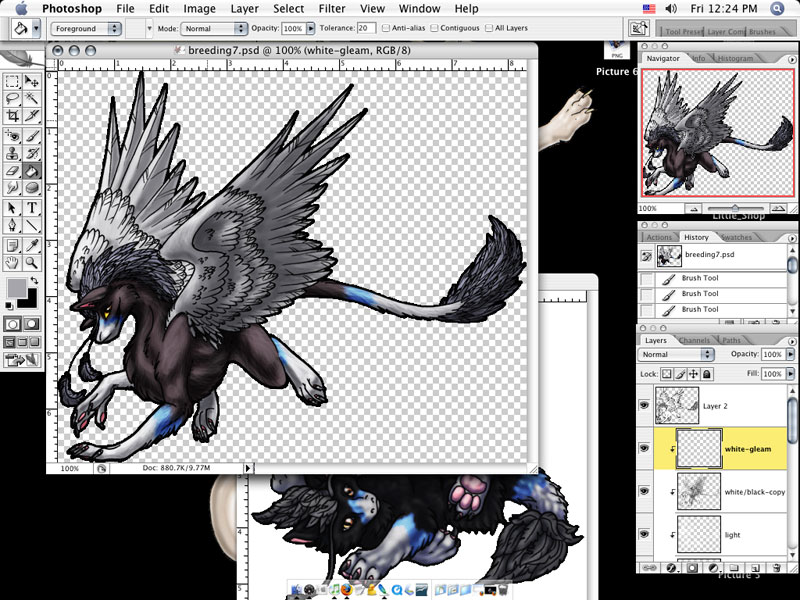
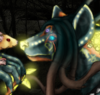
All I've done here is add some gleam to the image's eye and claws, and changed the wings back to their proper colour.
TAH DAH THE END! :D
Credits:
Template drawn by Unyko
Coloured by Dray
Merket was created by Silver Midnight (as was the hatchling image that's sometimes visible.)
Variations of this template will be given away from Kalyturn's Hybridization Center.
:3